Plasterers News

The Renovation #8: Big Beams And Stud Walls

I was a bit late getting to our property today as I had lots of work to do for the forum and of course Plasterers News so by the time I sorted all that out it was around 11am, and so I knew I was not going to get a full day in. None the less I was keen on crack on and start pushing forward and making progress.

When I get to the project, I tend to walk around and scratch my head thinking about what I have to do and how best to do it, this probably takes up the first 20 minutes every time I arrive on-site and, it annoys the hell out of Jane and no matter how many lists I do I always do this thinking part of the job and today was no different.

I had the neighbours complaining on Sunday about the noise of me chiseling out a pocket in the wall to take two 6×2’s so today this was the first job for me to do. Sod the neighbours, I needed to get this beam installed so the sand and cement could be gone off ready for the next days of hanging the joists off the beam and the wall plate.

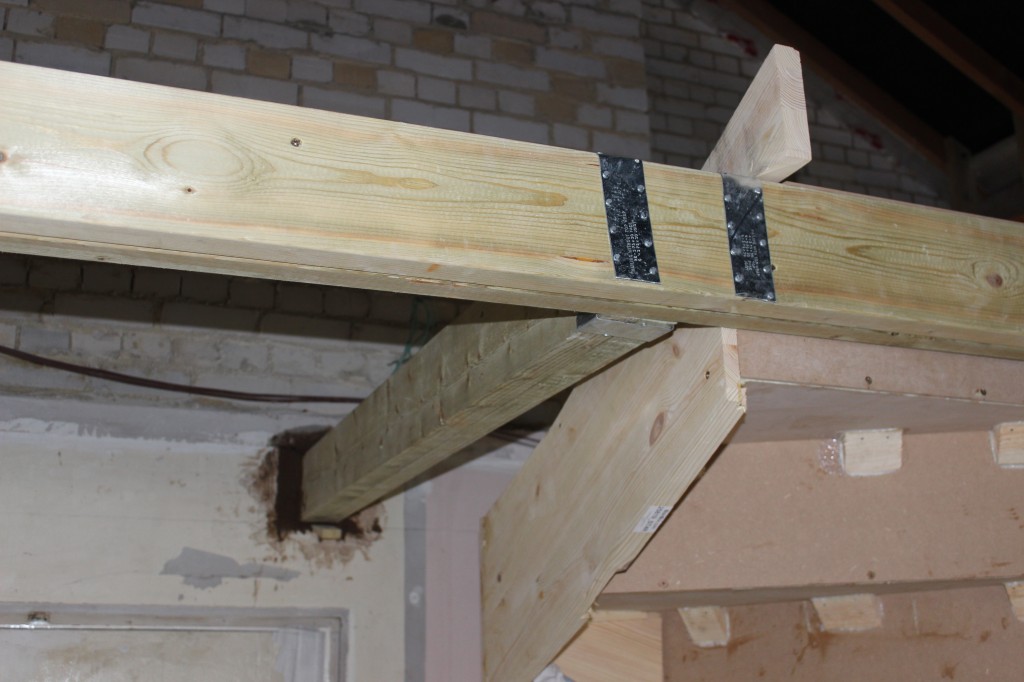
Beam installed

This is quite an awkward job to do on your own but armed with an acro and spirit level and numerous wedges, and the beam slid nicely into the pocket and wedged in level and then cemented in and at the other end, I used a joist hanger all straightforward to be honest.

The next job was one that was not important, but I wanted to do just to get rid of the rubble, and that was to remove a tiny bit of a wall left between the hallway and bedroom one, and I thought I would give it a wiggle and see if it was loose or not. Well, I was not expecting what happened next, but it did almost end in catastrophe. When I wiggled the wall, it tipped right over and had to use my weedy arms to hold it back up while I scrambled around looking for something to put under it and either stop it fall or to stop it ripping the floor up or worst still damaging my nearly fitted stair case.

I managed to find two buckets of plasterboard rubbish, and I managed to drag them over and place them in a place where the wall could rest on while I made sure it was not going to damage my flooring. Thankfully, this worked a treat, and I could rest my poor weak arms and break the wall up into manageable pieces, and I just chiseled out the rest, and the job was a good’un 🙂

Once the wall was down I need to make good the floorboards and also ensure that the newel posts were still supported and then make a start on the stud work for both sides of the wall. The newel posts  were slightly offset and I, so I had to do a bit more thinking about this and came up with a way that made the wall look like it was always there and also did not look like a bodge job.

I set a couple of bricks on the concrete floor and wedged them up into the newel posts and made sure that they were still level which the were and then set them in with sand and cement I also added some noggins to support the floors between the rooms and also dropped in some chipboard flooring. A little over kill for a cupboard and most of it is covered by the stud work but still.

The basic frame is now in, and I am quite happy with the way it is going to look and with what I have done today.

Thanks for reading my Renovation Project blog, please like and share and comment as you see fit 🙂

Exit mobile version