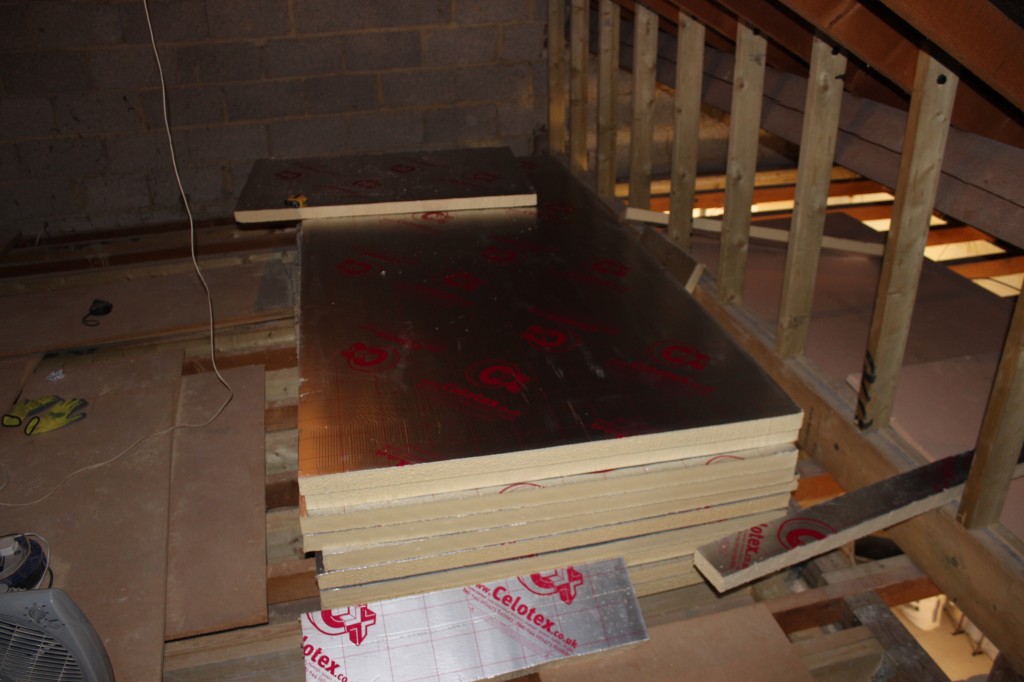
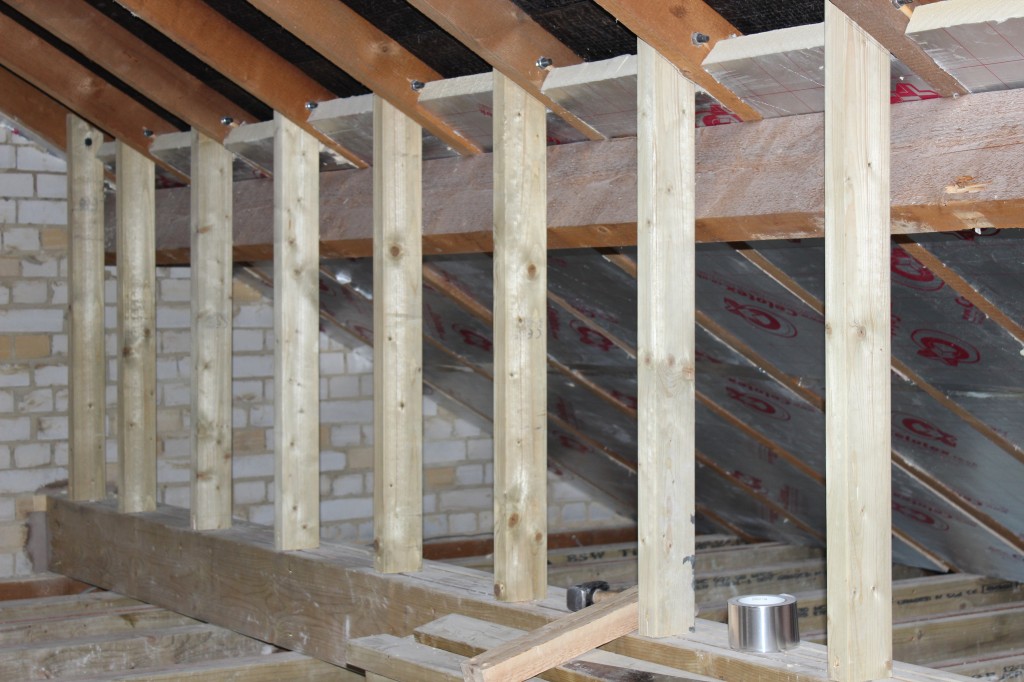
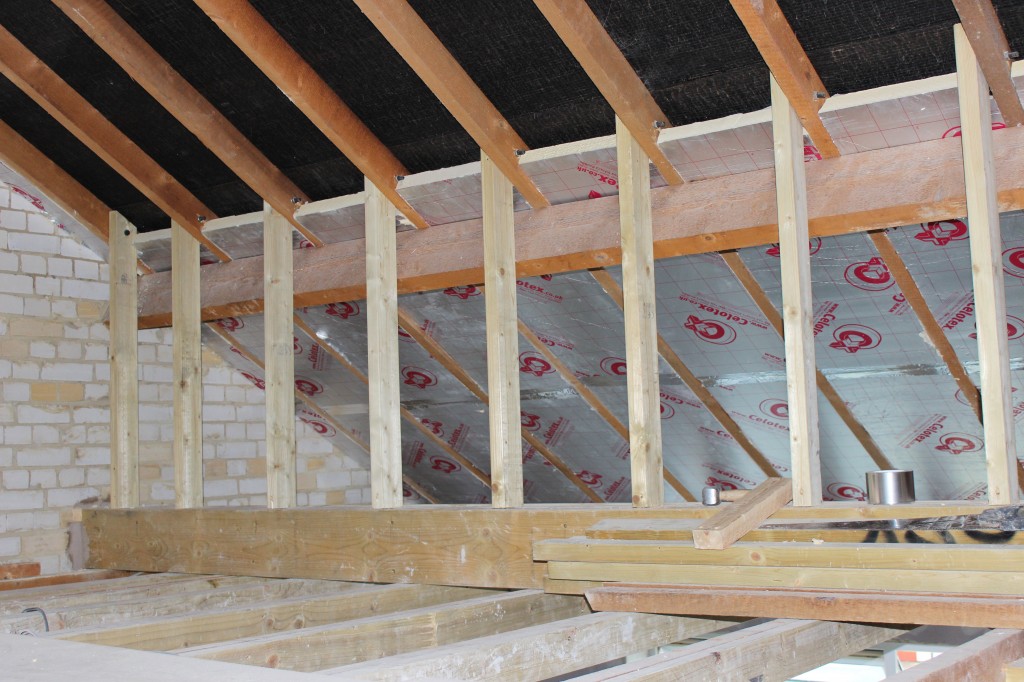
The Renovation #6: Insulating the Ashlar Walls and Splinters

It has come to that stage in the build that I need to start getting the loft space insulated and seeing as my ashlar walls are quite big and the storage spaces behind them are of good size. I decided that I was going to crack on and get that done.

Insulating A Loft

I have not had the chance to do a great deal of insulating in the past as when I was on the tools most of the time it would already be insulated and boarded. So finding a rough old saw and armed with a tape measure I cracked on and started to cut the generic 50mm insulation to fit between the rafters. The first piece went in perfect not too tight not too lose, and I was quite pleased with that.

Loft Insulation

However, it seemed from here on in that I could not get a measurement right and had to beat the boards into place and to be honest it was hard work and frustrating. I also forgot to mention that it was about 1000 degrees up there, and I was melting rapidly. It was a terrible place, and I lost count the amount of times I banged my head and elbows on rafters, but I pushed on slowly but surely. The aid of a fan helped keep cool as a cucumber.. well that was the theory.

Keeping cool in a loft

Finally, I managed to start getting the hang of it, and my cuts were better and my measuring improved, but it seemed that every other rafter, I was getting splinters, and they were not little ones these were full-blown kebab sticks in my hands I could not be dealing with this along with the heat and the near-death experience every time I moved followed by a bang as another part of my body would come in contact with something else in the loft space.

Insulating a loft

One of the splinters went underneath my finger nail, and the broke off. It hurt like hell, and I had to resort to getting a Stanley knife and cutting the skin back and then going to my local corner shop and buying some tweezers to get it out. It hurt a lot but what a relief.

I had got most of the insulation done on one side of the property in the ashlar wall and seeing as I had been doing it on some of the hottest days of the year I was quite pleased with myself.

This is quite a boring update, but still it is an update.

Plasterers News

Share:

Facebook
Twitter
Pinterest
LinkedIn

1 thought on “The Renovation #6: Insulating the Ashlar Walls and Splinters”

  1. Great post.

    My experience with insulating a loft with PUR was similar and my rafters were banana shaped. I opted to adding a 2″ batten to the underside of the rafter and used 100 mm Rockwool Flexi between the rafters and 25 mm PUR below the rafters (will need more for current U-Values). The hardest part was fixing the battens. The result was a very sealed roof space and suprisingly quiet.

Leave a Comment

Your email address will not be published. Required fields are marked *

Scroll to Top