One of the good things about plastering as a trade is the tools for plastering walls and ceilings and generally, any sort of plastering is actually very minimal. If you compare what a plasterer needs for plastering walls to what a carpenter needs to make the wall first it is no wonder that plastering is a cheap business to start.
So let us take a look at the tools you will need to for plastering walls and ceilings.
Tools For Plastering Walls And Ceilings
Firstly you will need buckets, now these buckets can be the gorilla type buckets or of course the traditional plasterer’s buckets which are a lot-lot taller you will also need a few builders buckets as well for measuring out water and using one as a splash bucket.

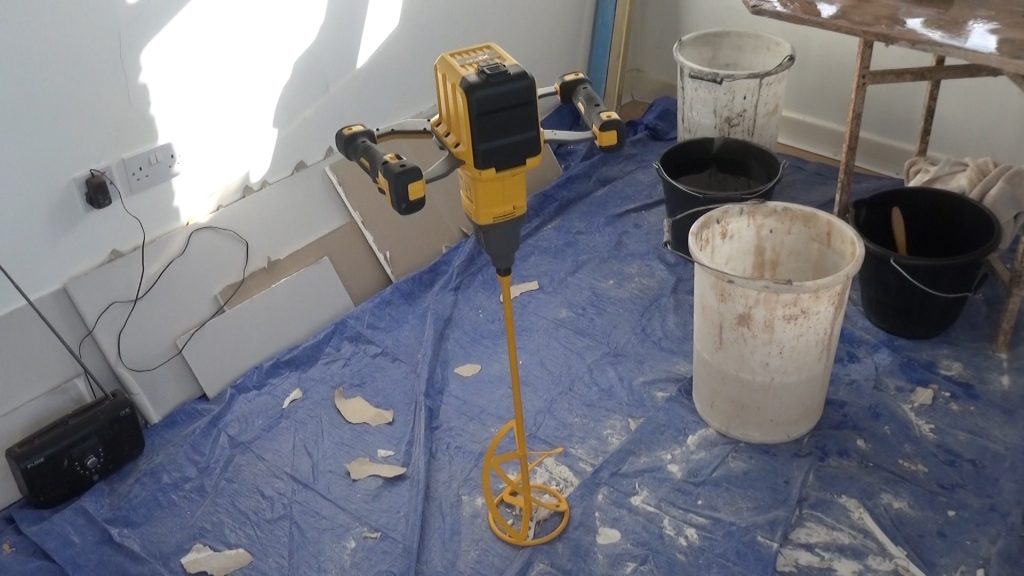
Plasterers Electric Mixer
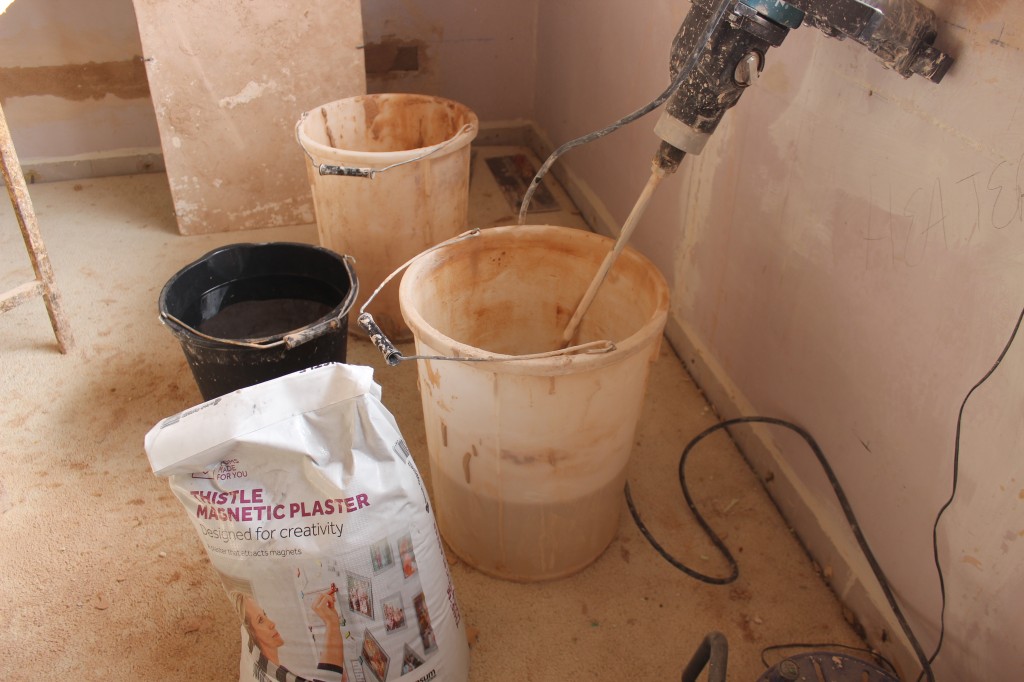
Then you will need something to mix that plaster, whether it be Thistle Hardwall for floating or sand and cement for rendering or plain old skimming you will want a mixer of some sort. In the old days, you would mix plaster by hand using a Podger but the reality is that is not going to happen in this day and age.

The next thing you will want is something like a bucket trowel to help with mixing the plaster. I would use a bucket trowel to scrape around the outside of the bucket to make sure all the powder is mixed in nicely.
The next tool for plastering walls and ceilings is going to be a hawk or as our northern friends would say a handboard. These come in various sizes and made from materials like plastic but my preference is the Marshalltown magnesium ones and quite a decent sized one as well.
Plasterers Trowel
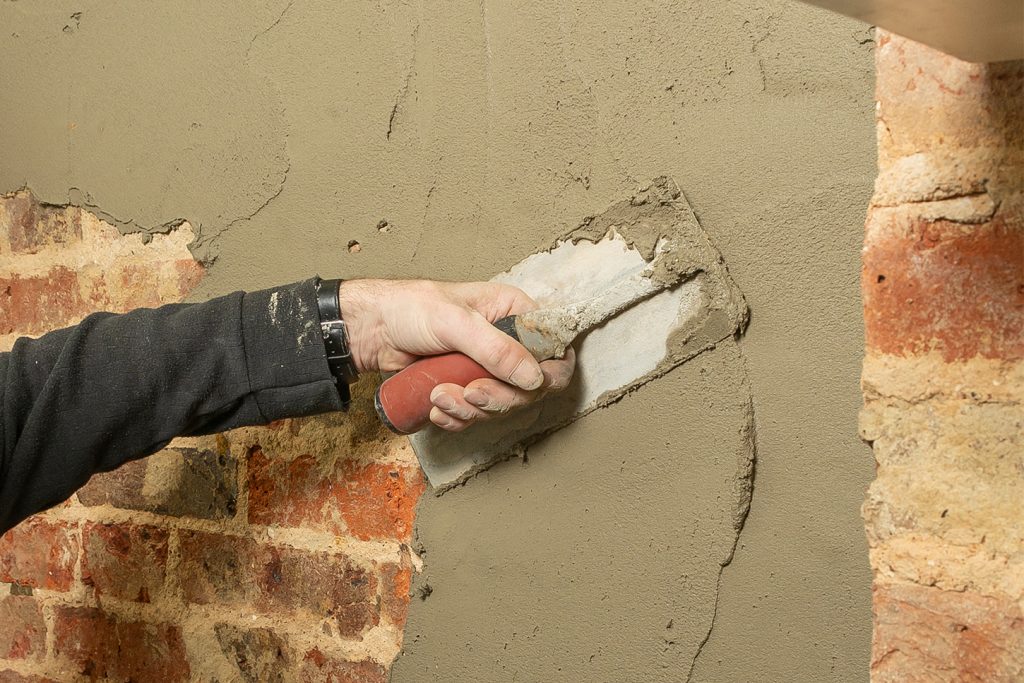
Right so you have your plaster mixed up and it is now on your hawk (handboard). You now need to look at getting it off your hawk and onto the wall in question and for this, you will need a trowel. I have been using a 16 inch Nela trowel for quite some time now and to be honest as far as the bare basics go then this is the only trowel you will need for plastering walls and ceilings.
I am going to assume you are applying a backing coat of sort and so once the hardwall or sand and cement has been applied you will want a rule of some sort to try and get it flat and level. This can be in the form of a feather edge or some plasterers are using Speedskims but I like to keep things sensible so a feather edge is what you will need.
You will also need a spirit level as well to make sure the backing coat you have applied is not only flat but also plumb.
Once the backing coat is on and you have ruled it t make it as flat as possible you will then need a plastic flat to rub the background up and this gets the backing coat flatter but also gives it a key for your top coat to be applied.
Plastering Brushes
You will then need a brush to help keep your edges in check and to keep your tools clean.
There we have a list of tools for plastering walls.